Roof Inspection and Code Compliance
The thought of a roof inspection can feel a bit daunting, stirring up worries about hidden problems, unexpected costs, or worse, finding out your existing roof isn't up to snuff with local building codes. It's easy to push these things to the back burner until a leak forces your hand, but neglecting regular checks and understanding compliance can lead to major headaches down the road. This comprehensive guide is here to walk you through everything you need to know about roof inspections and navigating building code compliance for your asphalt roofing system, ensuring peace of mind and protecting your home.
Why Roof Inspections Are Non-Negotiable for Code Compliance
Let’s be honest, few homeowners get excited about the idea of a roof inspection. It often feels like just another expense, or a task to tick off a list when selling a home. But when it comes to the structural integrity and long-term health of your property, regular, thorough roof inspections are absolutely essential. They’re not just about spotting a loose shingle; they’re a critical step in ensuring your entire roofing system meets established building codes, which are in place for your safety and property value. Ignoring them is like driving a car without ever checking the oil – you might get by for a while, but eventually, you're looking at a breakdown.
Catching Issues Before They Become Code Violations
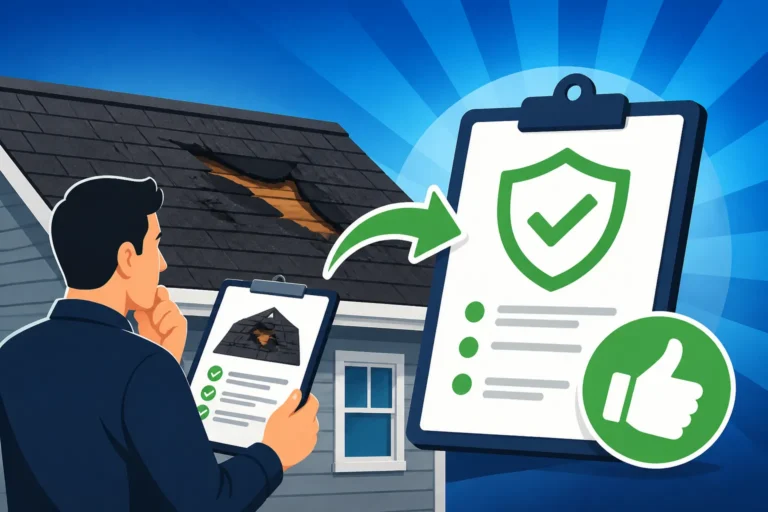
Think of a roof inspection as a preventative health check for your home. Small issues, when left unattended, have a nasty habit of snowballing into much larger, more expensive problems – many of which can escalate into outright code violations. A tiny crack in a shingle or a slightly misaligned piece of flashing might seem insignificant, but these can allow water intrusion that leads to rot in your roof decking. If enough of that decking becomes compromised, you're not just dealing with a repair; you could be looking at structural issues that violate local building codes regarding roof integrity.
Moreover, if you’ve had a repair done in the past by someone less than reputable, or if your home is older and has seen a few generations of quick fixes, an inspection can uncover these hidden dangers. Perhaps a previous homeowner decided to patch over existing shingles rather than performing a full tear-off, and this “roof over” technique might not meet current regulations in your area, especially concerning the number of shingle layers allowed. An inspector can identify these discrepancies, giving you the chance to address them proactively rather than being hit with a mandatory replacement order or a denied insurance claim when a storm rolls through.
Protecting Your Investment and Home Value
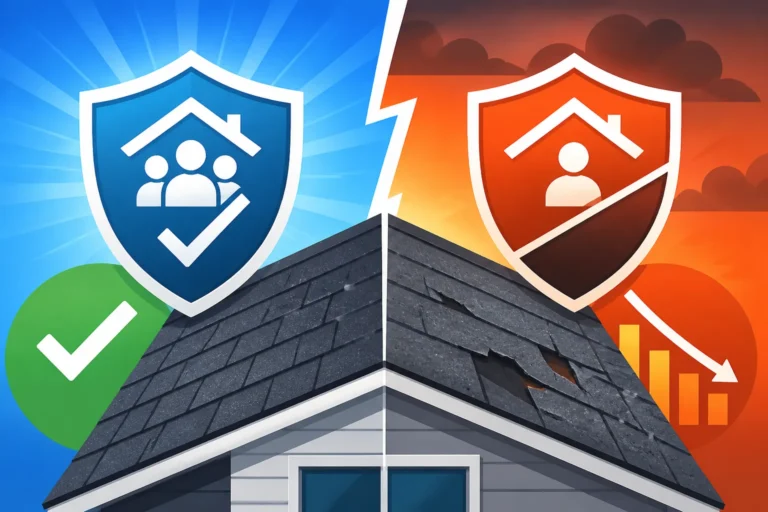
Your roof is more than just a cover; it's a significant investment, often representing a substantial portion of your home's total value and playing a crucial role in its overall energy efficiency and curb appeal. When you ensure your roof is regularly inspected and remains code-compliant, you are actively protecting that investment. For starters, many homeowners' insurance policies require a certain level of maintenance or an up-to-date roof to provide full coverage. If you need to file a claim, say for significant storm damage, and it's discovered your roof was not compliant with local codes – perhaps due to improper installation or neglected repairs – your insurer could deny or significantly reduce your payout.
Beyond insurance, a code-compliant roof significantly contributes to your home's resale value. When potential buyers are considering a property, the roof is one of the first things they or their inspector will examine. A roof that is visibly old, damaged, or fails a pre-sale inspection due to code violations can become a major sticking point, either deterring buyers or leading to demands for costly credits or repairs. On the other hand, a well-maintained, code-compliant asphalt roof signals to buyers that the home has been cared for, offering them peace of mind and often justifying a higher asking price. It’s an assurance of safety, durability, and a lack of immediate, expensive repairs on the horizon, making your property a much more attractive prospect in the market.
Understanding the Building Codes That Govern Your Roof
Building codes aren't just arbitrary rules dreamed up by bureaucrats; they are critical standards designed to ensure the safety, structural integrity, and durability of homes. When it comes to your roof, these codes dictate everything from the materials used to the way they're installed. It can feel like a maze trying to figure out which codes apply to you, but understanding the basics is key to having a compliant and safe roofing system. Neglecting these can lead to serious hazards, not to mention costly fines or forced re-dos.
Key National and Local Roofing Codes
At a broad level, most states and municipalities adopt versions of national building codes, primarily the International Residential Code (IRC) for residential structures and the International Building Code (IBC) for commercial buildings. While the core principles remain, local jurisdictions often add their own amendments and specific requirements based on climate, common natural disasters, and regional building practices. For instance, coastal areas in Florida or Texas will have much stricter high-wind roofing code requirements than, say, a landlocked county in Ohio, specifying enhanced nailing patterns or different shingle classifications. Similarly, regions prone to heavy snowfall might have specific codes for ice barrier protection or roof load capacity.
It's absolutely vital to remember that these codes are dynamic; they're updated every few years to incorporate new technologies, materials, and safety knowledge. What was perfectly compliant 15 years ago might not meet today's standards. That’s why it's so important to work with a reputable contractor who is well-versed in the most current local codes, not just the ones they learned a decade ago. Before any major roofing project, your contractor or you (if you're pulling the permit) should consult the local building department to confirm all applicable regulations, ensuring that the work planned will meet or exceed these requirements.
Specific Code Requirements for Asphalt Shingles
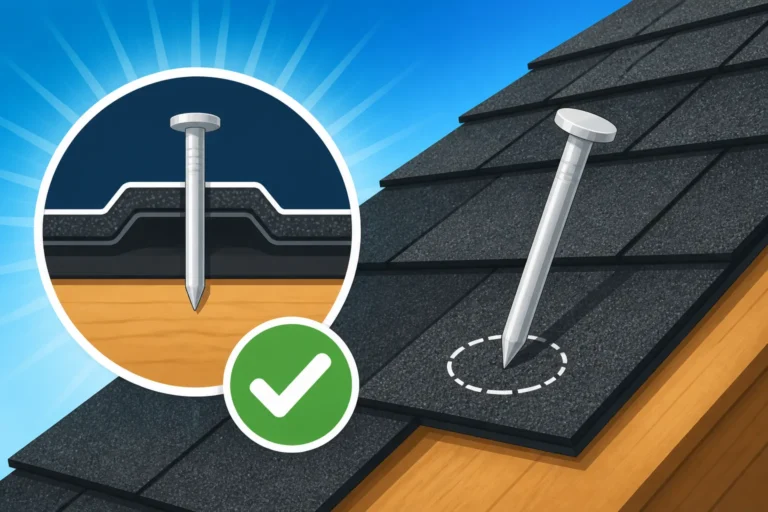
When it comes to asphalt shingles, the details really matter for code compliance. It's not just about slapping them on; there are precise specifications that ensure their performance and longevity. One of the most frequently scrutinized aspects is the nailing pattern. Most manufacturers, and subsequently building codes, require a specific number of nails per shingle – typically four to six – placed in a designated nailing strip to achieve optimal wind resistance. Improper nailing, such as using too few nails, placing them too high (high nailing), or angling them incorrectly, can significantly reduce the shingle's ability to withstand high winds, making your home vulnerable. This is a common issue found during roof inspections, and it can actually void your manufacturer's warranty if not done according to their strict guidelines.
Beyond the shingles themselves, the underlying components are also heavily regulated. Underlayment, whether traditional felt or modern synthetic, has specific overlap requirements and must be installed correctly to provide a secondary water barrier. In colder climates, an ice and water shield is often mandated along eaves, valleys, and around penetrations to prevent water backup from ice dams. Proper flashing, especially around chimneys, skylights, and vent pipes, is critical to prevent leaks, and codes will detail the materials and installation methods. Even seemingly minor components like drip edge, which helps guide water off the roof and into the gutters, are typically required by code to protect the fascia and prevent water from seeping behind the gutters. Finally, adequate roof ventilation is often a code requirement to prevent moisture buildup in the attic, which can lead to mold, rot, and premature shingle deterioration. Understanding how roof ventilation works is key here, as improper airflow can not only damage your roof but also lead to higher energy bills.
The Different Types of Roof Inspections You Might Encounter
As homeowners, we often think of "inspection" as a singular event, perhaps something done right before buying or selling a house. But in reality, your roof might undergo several different types of inspections throughout its lifespan, each with its own purpose and focus. Knowing what these are can help you prepare and understand the crucial information they provide, whether it's for routine upkeep, a big project, or dealing with the aftermath of a storm.
Routine Maintenance and Pre-Sale Inspections
Routine maintenance inspections are, in my opinion, the unsung heroes of homeownership. They're proactive checks, ideally performed annually or biennially, that aim to catch small problems before they escalate. Think of it like taking your car in for an oil change – you're looking for wear and tear, minor damage from seasonal changes, granule loss, small patches of moss or algae, or any signs of potential water intrusion. These inspections typically don't involve a permit or code enforcement officer; rather, they're performed by a qualified roofing professional whose goal is to identify repair needs and advise on maintenance strategies. Regular maintenance is one of the best ways to extend the life of an asphalt roof and avoid costly premature replacements.
On the other hand, pre-sale inspections are a different beast entirely. When you're putting your house on the market, or if you're a buyer, a home inspector will conduct a thorough review of the entire property, including the roof. Their job isn't just to spot visible damage but also to identify any deficiencies that might not meet current building codes, or any conditions that could pose a future problem for the new homeowner. These reports can be incredibly detailed and often highlight issues you didn't even know existed, such as inadequate attic ventilation, signs you need a new roof, or improper flashing installations that could lead to leaks down the line. A clean pre-sale roof inspection can be a huge selling point, while a problematic one can become a major negotiation hurdle.
Post-Installation and Permit-Related Inspections
Whenever you undertake a significant roofing project, like a full roof replacement or a major repair involving structural changes to the roof decking, your local building department will almost certainly require a permit. And with that permit comes the necessity of one or more inspections during and after the work is completed. This is where government oversight kicks in, ensuring that the work adheres strictly to all current building codes. The permit process isn't just bureaucratic red tape; it's a vital safeguard for homeowners, ensuring that the work is performed safely and to a high standard, protecting your investment and preventing future liabilities.
Typically, there might be a "mid-roof" inspection after the old roof has been torn off and before new shingles are applied. During this stage, the inspector will examine the roof decking for any rot or damage, check the installation of the underlayment, and verify that the drip edge and ice and water shield (if required) are installed correctly and meet code. Once the entire roofing system is installed, a final inspection will be conducted. This final check is comprehensive, looking at the correct installation of shingles, proper nailing patterns, secure flashing around all penetrations, and adequate ventilation. If the inspection passes, your permit is closed out, signaling that the work meets all local standards. If it fails, the contractor will be required to make necessary corrections and schedule a re-inspection.
Insurance Claim Inspections After Storm Damage
Few things are as stressful as seeing your roof damaged after a severe storm, whether it's from hail, high winds, or falling trees. In these situations, an insurance claim inspection becomes a critical step in getting your roof repaired or replaced. After you've filed a claim, your insurance company will send out an adjuster or a third-party inspector to assess the damage. Their primary goal is to determine the cause of the damage, evaluate its extent, and confirm whether it's covered under your policy.
This type of inspection differs from a general maintenance check because it's specifically focused on identifying storm-related damage versus wear and tear. The adjuster will look for specific signs of hail damage, such as dents or bruising on shingles, or evidence of wind damage like lifted, creased, or missing shingles. They'll also check for collateral damage to other parts of your property. While their main objective is to assess the claim, they will also implicitly be looking at the overall condition of the roof. If the roof was already in poor condition due to age or neglect, or if previous repairs were not up to code, it could impact the payout or even lead to a denial, as insurance typically only covers sudden, accidental damage, not pre-existing issues or damage caused by lack of maintenance. It's often helpful to have your chosen contractor present during this inspection, as they can point out damage to the adjuster and discuss the scope of work needed to bring the roof back to its pre-loss condition – and up to current code if a full replacement is approved.
What a Certified Inspector Looks For During a Roof Examination
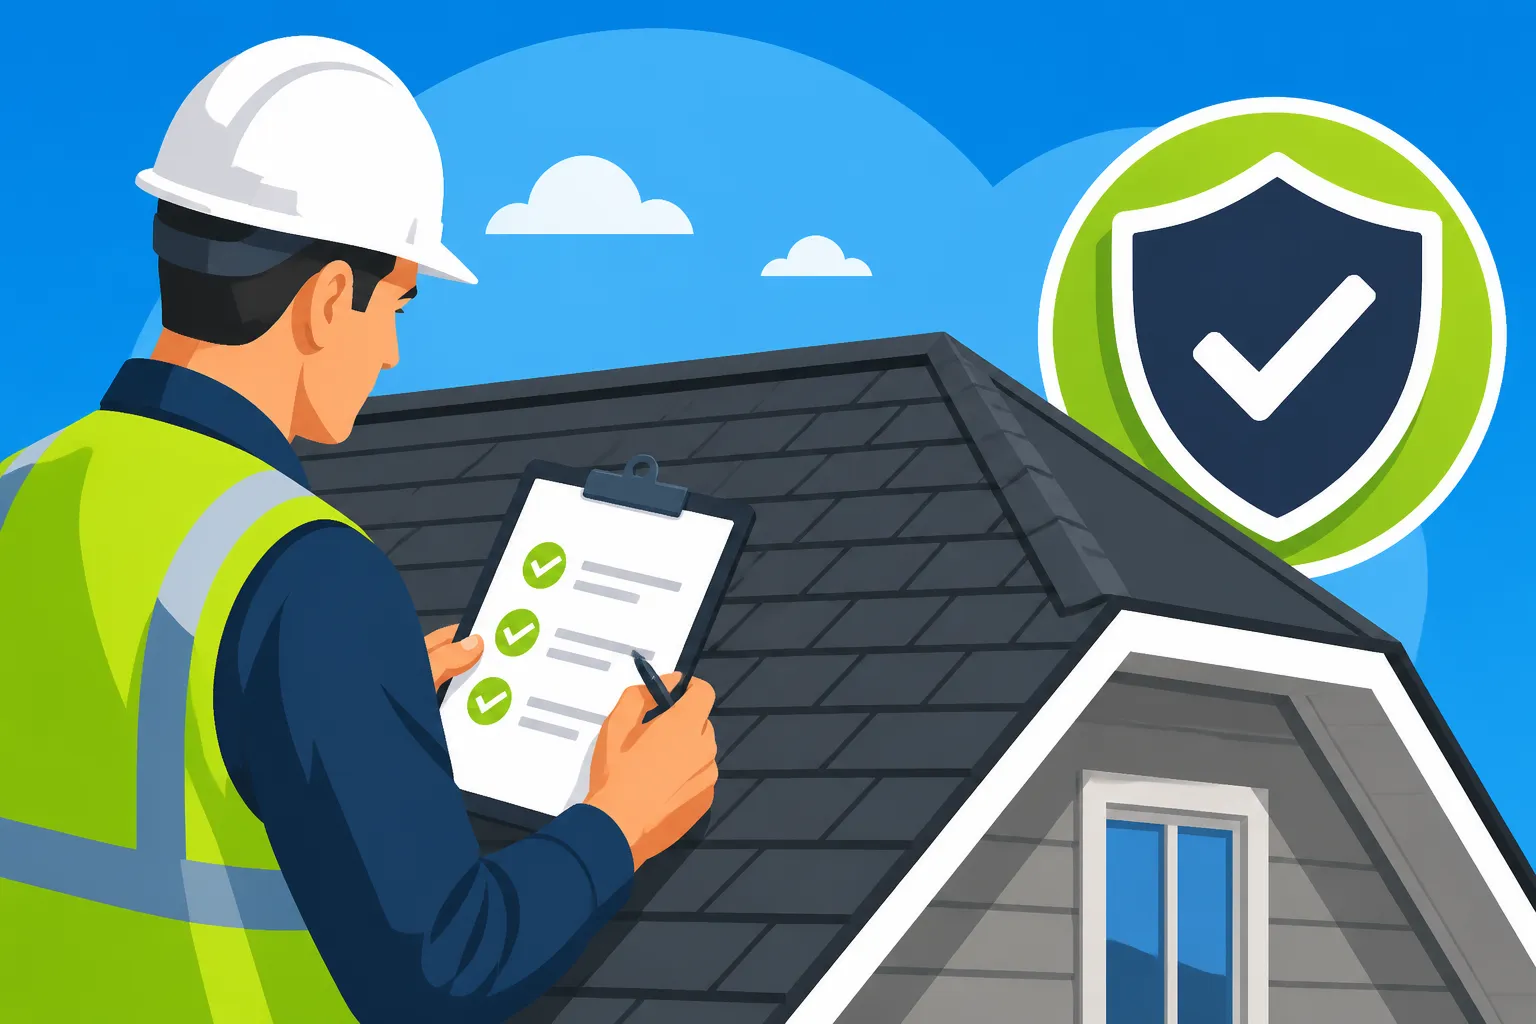
When a certified inspector steps onto your property for a roof examination, they're not just glancing up; they're performing a methodical assessment of every component that makes up your roofing system. They're looking for both visible flaws and subtle indicators of underlying issues that might compromise the roof's integrity or violate building codes. It’s a detailed process that takes experience and a keen eye to truly understand the condition of your roof.
Structural Integrity and Decking Assessment
The foundation of any good roof is a solid structure underneath, and that starts with the roof decking. An inspector will meticulously check for signs of a sagging roof, which can indicate structural problems in the trusses or rafters beneath. They'll also be looking for damaged or rotten roof decking, often caused by long-term moisture exposure from leaks. This is a critical area, as compromised decking can't properly hold nails, which means shingles won't be securely fastened, making them highly susceptible to wind uplift. In many cases, if the decking is severely compromised, it won't meet code, and sections (or even all of it) may need replacement, adding to your overall asphalt roof replacement cost.
During a post-tear-off inspection, before new shingles are installed, the inspector has a clear view of the decking. They'll check the type of decking (OSB vs. plywood roof decking) and its thickness, ensuring it meets local requirements. They'll also look for proper fastening of the decking to the rafters, verifying that nails or screws are spaced correctly. Any areas of mold, mildew, or delamination in the decking will be flagged, as these are clear indicators of past or present moisture problems. If your existing roof has multiple layers and you're opting for a tear-off, this inspection of the bare deck is invaluable for catching hidden structural issues that could impact the longevity of your new roof.
Shingle Condition and Installation Quality
The shingles themselves are the most visible component, and an inspector will spend a great deal of time evaluating their condition and installation quality. They’ll look for common signs of wear and tear, such as curling shingles (which can be either "cupping" where the edges turn up, or "clawing" where the middle rises), cracked shingles, or extensive granule loss. While some granule loss is normal over time, excessive amounts indicate the shingles are nearing the end of their lifespan and losing their UV protection. They'll also check for blistering shingles, which are small bubbles on the surface, often a sign of manufacturing defects or poor attic ventilation.
Crucially, the inspector will pay close attention to how the asphalt shingles are installed. They'll check for proper shingle overlap, ensuring adequate exposure to the elements and preventing water intrusion. Nail pops, where nails have backed out or were improperly driven, will be noted as these can create weak points and potential leak pathways. The inspector will also assess the overall uniformity and straightness of the shingle courses, as a sloppy installation not only looks bad but can also compromise water shedding. They'll verify that starter shingles are present at the eaves and rakes, which are a code requirement in many areas to protect these vulnerable edges. Even the correct installation of hip and ridge caps is important, as these are exposed areas that need robust protection.
Flashing, Ventilation, and Drainage Systems
Beyond the main field of shingles, an inspector meticulously scrutinizes all the "detail" work – the flashing, ventilation, and drainage systems, as these are common areas for leaks and code violations. Flashing is critical for preventing water intrusion wherever the roof meets a vertical surface, such as a chimney, skylight, or wall. The inspector will check the condition of existing flashing (e.g., lead, aluminum, galvanized steel) for rust, cracks, or signs of improper sealing. They'll verify that step flashing around walls and counter-flashing on chimneys is installed correctly and has not pulled away. Valley flashing, which channels large volumes of water, will be inspected for proper sealing and any signs of wear. Understanding roof flashing explained is vital for any homeowner to appreciate the complexity here.
Ventilation is another major focus. Proper attic ventilation works by allowing cooler air to enter through soffit vents and warmer, moist air to exit through ridge vents or other exhaust vents. An inspector will check for both intake and exhaust ventilation, ensuring they are balanced and unobstructed. Blocked soffit vents or insufficient exhaust can lead to heat and moisture buildup, accelerating shingle deterioration and potentially causing mold in the attic. The inspector will verify that vents are securely fastened and properly sealed to prevent leaks. Finally, they'll check the overall drainage of the roof, ensuring gutters are clear and properly sloped, and that water is effectively channeled away from the home's foundation. A well-functioning drainage system prevents water from pooling on the roof or overflowing, which can lead to fascia rot and other water damage.
| Component | What Inspector Looks For | Why It Matters for Code Compliance |
|---|---|---|
| Roof Decking | Sagging, rot, water stains, mold, proper thickness and fastening (nails/screws). | Ensures structural integrity; compromised decking cannot properly hold fasteners, leading to shingle failure and safety hazards. |
| Underlayment | Proper type (felt/synthetic), correct overlap, secure fastening, presence of ice and water shield in vulnerable areas. | Provides secondary water barrier; improper installation can lead to leaks and void shingle warranties. Ice barrier is often a mandatory code in cold climates. |
| Shingles | Curling, cracking, blistering, granule loss, missing shingles, proper nailing pattern (number and placement of nails), correct overlap, starter course. | Determines lifespan and performance; improper installation leads to premature failure, wind damage, and water intrusion. Nailing is crucial for wind resistance codes. |
| Flashing | Rust, cracks, loose seals, proper installation around chimneys, vents, skylights, valleys, and wall abutments. | Prevents leaks at critical junctions; faulty flashing is a leading cause of roof leaks and often a code violation if not properly installed. |
| Ventilation | Sufficient intake (soffit) and exhaust (ridge, box) vents, clear airflow, no obstructions, proper sizing for attic space. | Prevents heat and moisture buildup in the attic, which can cause mold, rot, and shingle deterioration. Ventilation is a key aspect of energy efficiency and roof longevity codes. |
| Drip Edge | Presence, secure fastening, proper alignment to guide water into gutters. | Protects fascia and prevents water from wicking back under shingles; often a mandatory code requirement for proper drainage. |
| Gutters & Downspouts | Clear of debris, proper slope, secure fastening, channeling water away from the foundation. | While not strictly "roof" code, essential for overall home drainage and preventing water damage to the roof system and foundation. |
Common Code Violations and How to Avoid Them
Even with the best intentions, it's surprisingly easy for a roofing project to fall short of local building codes. Many homeowners aren't even aware of the precise rules until an issue arises or a permit inspection fails. These violations aren't just minor technicalities; they often represent shortcuts that compromise your roof's integrity, lead to premature failure, and can even void your warranty. Knowing the common pitfalls can help you ensure your roof stands up to scrutiny and protects your home effectively.
Improper Nailing and Shingle Application
Perhaps the most common, yet critical, code violation involves the basic act of attaching shingles to the roof. It seems straightforward, but there are strict rules about how asphalt shingles are installed. Inspectors frequently find issues like improper nailing, where nails are placed too high on the shingle (known as "high nailing"), too low, or at the wrong angle. High nailing is particularly problematic because the nail might miss the underlying shingle entirely, or only catch a small portion, leaving the shingle vulnerable to wind uplift. Similarly, using too few nails – for instance, four when six are specified by the manufacturer and code – significantly reduces the shingle's wind resistance. Many building codes now specify a minimum wind rating for shingles and corresponding nailing patterns, especially in high-wind zones, so getting this wrong is a direct violation.
To avoid these issues, always choose a reputable, certified roofing contractor. Installers who are trained and certified by manufacturers like GAF, Owens Corning, or CertainTeed understand the specific nailing requirements for each shingle product. They use pneumatic nail guns with precise depth settings to ensure nails are driven flush, not over-driven (which can cut through the shingle) or under-driven (leaving the nail head exposed). They will also adhere to the correct shingle overlap and exposure, ensuring each course is properly offset to prevent water channels and provide uniform protection. A skilled contractor will guarantee that your roof's installation meets both manufacturer specifications and local building codes, often a prerequisite for valid warranties.
Inadequate Ventilation and Underlayment
Another frequent area for code violations centers around roof ventilation and underlayment. Many older homes, or those where past renovations were done without permits, often suffer from inadequate attic ventilation. Building codes universally require sufficient ventilation to prevent heat and moisture buildup in the attic space. Without proper intake (soffit) and exhaust (ridge, box, or turbine) vents, trapped hot air can prematurely age shingles from the underside, causing them to curl and crack. More importantly, moisture buildup can lead to condensation, promoting mold growth on rafters and decking, and eventually causing wood rot. An inspector will check the ratio of ventilation to attic square footage, and if it's not compliant, it will be flagged.
Similarly, the underlayment, which serves as a crucial secondary water barrier beneath the shingles, has specific code requirements. While traditional felt paper is still used, synthetic underlayment is increasingly common due to its durability. Codes dictate the type of underlayment, its weight or thickness, and how it must be installed with proper overlap. More critically, in regions prone to ice dams and heavy snow, building codes mandate the installation of an ice and water shield along the eaves, valleys, and around roof penetrations. This self-adhering membrane is designed to prevent water from backing up under shingles and leaking into the home. Skipping this critical step, or installing it incorrectly, is a direct code violation in applicable zones and leaves your home highly susceptible to winter damage. A knowledgeable contractor will ensure that both your attic ventilation system and underlayment meet or exceed all local building code requirements, protecting your home from the elements and extending the life of your roof.
Faulty Flashing and Drip Edge Installation
Flashing and drip edge are the unsung heroes of a waterproof roof, and unfortunately, faulty installation in these areas is a very common code violation leading to significant problems. Flashing, whether around a chimney, skylight, vent pipe, or in a valley, is designed to divert water away from vulnerable areas where the roof meets a vertical surface or changes plane. If the flashing is improperly cut, not sealed correctly, or made from incompatible materials that corrode, it creates an open invitation for water leaks. Inspectors will look for rusty flashing, lifted or loose components, or even missing flashing entirely where it's explicitly required by code. For instance, step flashing around a wall or chimney must be interwoven with the shingle courses, not just laid over them, to be truly effective and code-compliant.
Drip edge, while often overlooked by homeowners, is another component frequently subject to code requirements and improper installation. This metal strip runs along the eaves and rake edges of the roof, designed to kick water away from the fascia and into the gutters, preventing it from running down the side of the house or wicking back under the shingles. Many local codes now mandate the installation of drip edge on all new roof replacements. Issues arise when the drip edge is either completely absent, improperly sized, not fastened securely, or installed in a way that allows water to get behind it. This can lead to rot in the fascia and soffit, which can in turn compromise the edge of your roof decking. Ensuring proper installation of new flashing and drip edge is not only about passing inspection but is fundamental to the long-term protection of your home against water damage, making it a critical aspect to discuss with your roofing contractor.
Navigating the Permit Process and Final Inspections
The words "permit" and "inspection" can often make homeowners sigh. It feels like bureaucracy, extra steps, and potential delays. However, understanding and properly navigating the permit process and subsequent inspections are absolutely vital for any significant roofing project. These steps are designed to protect you, the homeowner, ensuring that the work done on your home is safe, meets modern building standards, and will stand the test of time. Skipping them can lead to serious headaches, from fines to forced removal of non-compliant work, and even difficulties selling your home down the road.
When a Roofing Permit is Required
Knowing when you need a roofing permit can sometimes feel like a moving target, as requirements can vary significantly from one municipality to another, and even within different counties in the same state. However, generally speaking, any major roofing project that involves altering the structure of the roof, or replacing a substantial portion of the roof covering, will require a permit. This almost always includes a full roof replacement, where the old shingles and underlayment are torn off down to the roof decking. If you're undertaking a project that changes the roof's pitch or adds a dormer, a permit is definitely needed, as these are structural modifications.
Even what seems like a simple "re-roofing" or "overlay" project, where new shingles are installed directly over existing ones, often requires a permit. This is because many codes limit the number of shingle layers allowed on a roof (typically a maximum of two). A permit allows the building department to verify that you're not exceeding this limit, which is important for structural load-bearing and shingle performance. Minor repairs, like replacing a few missing shingles or fixing a small leak, usually do not require a permit. However, if the repair involves replacing a significant portion of the roof (e.g., an entire slope) or structural components like rafters or a large section of decking, a permit is likely necessary. When in doubt, it’s always best to check with your local building department or consult with a reputable roofing contractor, as they should be familiar with the local "Do You Need a Permit to Replace a Roof" rules. A good contractor will usually handle the permit application process for you.
What to Expect During a Final Roofing Inspection
After your new roof has been completely installed, the final step in the permit process is the final roofing inspection. This is where a municipal building inspector will visit your property to ensure that all the work performed adheres to the approved plans and, more importantly, to all applicable local and national building codes. It's a comprehensive check of the entire roofing system, from top to bottom, designed to verify quality and safety.
The inspector will typically review the workmanship of the shingle installation, looking for consistent exposure, proper offset, and correct nailing patterns as discussed earlier. They’ll also pay close attention to all the vulnerable points: ensuring that all flashing around chimneys, skylights, and vent pipes is installed correctly and watertight. The presence and proper installation of drip edge and a functional ventilation system (both intake and exhaust) will also be confirmed. If an ice and water shield was required, they might ask for proof of its installation or check visible areas. Any signs of shoddy work, such as visibly loose shingles, exposed nails, or poorly sealed penetrations, will result in a failed inspection. If the inspection fails, the contractor will be issued a correction notice, outlining exactly what needs to be fixed. The contractor then makes the necessary repairs, and a re-inspection is scheduled. This back-and-forth can be frustrating, but it ultimately serves to ensure you receive a safe, durable, and code-compliant roof. Once the final inspection passes, your permit is officially closed, signifying that your new roof meets all legal requirements.
How to Choose a Reputable Roofer Who Prioritizes Code Compliance
Let's face it, picking a roofing contractor can feel like a high-stakes gamble. You're entrusting a significant investment – your home's primary protection – to someone you might have just met. The market is flooded with options, from established local companies to fly-by-night operations, especially after a storm. But when it comes to something as critical as your roof, particularly its compliance with stringent building codes, cutting corners is simply not an option. Choosing the right professional isn't just about getting a good price; it's about securing quality, safety, and peace of mind.
The Importance of Licensed and Insured Contractors
This isn't just a suggestion; it's a non-negotiable requirement. Before you even get to discussing shingle colors or how much an asphalt shingle roof cost, you absolutely must verify that any prospective contractor is fully licensed and insured. A license means they have met the minimum qualifications set by the state or local authority, demonstrating a certain level of competence and adherence to industry standards. Licensing requirements vary greatly by state and even by county. For example, some states, like California, have very strict licensing requirements for roofing contractors, while others might have less stringent rules or delegate regulation to local municipalities. Always check with your state's contractor licensing board or local building department to confirm a contractor's status.
Even more crucial is insurance. A reputable contractor will carry both general liability insurance and workers' compensation insurance. General liability protects your property from any damage that might occur during the roofing project – think a misplaced ladder or debris falling where it shouldn't. Workers' compensation insurance is perhaps even more vital; it covers the contractor's employees if they get injured on your property. Without it, you, the homeowner, could be held liable for their medical bills and lost wages. It sounds scary, and it is! Don't just take their word for it; ask for current certificates of insurance directly from their insurance providers and verify them. If a contractor hesitates or can't provide these documents, consider it a massive red flag and walk away immediately. It's truly a foundational aspect of how to choose a roofing contractor.
Manufacturer Certifications and Workmanship Warranties
Beyond basic licensing and insurance, look for contractors who hold specific certifications from major asphalt shingle manufacturers like GAF, Owens Corning, or CertainTeed. These certifications, such as GAF Master Elite or Owens Corning Platinum Preferred Contractor, aren't just fancy badges. They signify that the contractor has undergone extensive training directly from the manufacturer, demonstrated a deep understanding of their products, and proven their ability to install them according to the manufacturer's stringent specifications. This level of expertise ensures that your roof won't just look good, but will also perform as intended and meet the highest installation standards, which often exceed basic building codes.
Why does this matter for code compliance? Because manufacturers often have their own specific requirements for things like nailing patterns, underlayment usage, and flashing details that go beyond the general building code to ensure their product warranties are valid. A certified installer is trained to meet these higher standards. Furthermore, choosing a manufacturer-certified contractor often opens the door to enhanced, long-term warranties – known as "system warranties" – that cover not just the materials but also the workmanship for extended periods, sometimes up to 50 years or even lifetime. These warranties are usually contingent on the entire roofing system (shingles, underlayment, ventilation, etc.) being installed by a certified professional. Without proper installation and compliance, even the best shingles won't last, and your warranty could be voided, leaving you on the hook for future repairs. Always ask about the specific warranties offered and how they tie into the contractor's installation practices.
The Long-Term Benefits of a Code-Compliant Roof
Investing in a new roof or ensuring your current one is in top shape and meets all local building codes might seem like a hassle, full of paperwork, inspections, and costs. But trust me, the long-term benefits far outweigh any initial inconveniences. A roof that is properly installed and adheres to code isn't just about passing an inspection; it's about creating a safer, more durable, and more valuable home for years to come. It’s an investment that pays dividends in comfort, security, and financial return.
Enhanced Safety and Structural Longevity
At its core, building codes are designed with safety in mind. A roof that is compliant with current codes is inherently safer. This means its structural components, like the roof decking and rafters, are robust enough to handle expected loads, from heavy snow in winter to the force of high winds. Proper nailing patterns and shingle application, as dictated by code, mean your shingles are less likely to blow off in a storm, protecting your home's interior from water damage and preventing dangerous flying debris. Adequate roof ventilation prevents moisture buildup, which can lead to wood rot, compromising the structural integrity of your attic and roof deck over time. Imagine the peace of mind knowing your home is structurally sound and able to withstand the elements without constant worry.
Moreover, a code-compliant installation significantly contributes to the overall longevity of your asphalt roofing system. When every component – from the underlayment and flashing to the shingles and ventilation – is installed correctly and to standard, the entire system works synergistically to protect your home. This means fewer leaks, less premature wear and tear, and a roof that reaches its full expected lifespan, typically 20-30 years for architectural shingles. You'll spend less on frequent repairs and avoid the costly, large-scale issues that often arise from non-compliant or shoddy installations. This enhanced durability translates directly into fewer worries and more money in your pocket over the decades, pushing back the day you need another full roof replacement.
Easier Insurance Claims and Higher Resale Value
One of the most practical benefits of a code-compliant roof is the smoother experience you'll have if you ever need to file an insurance claim. Homeowners' insurance policies are built around the expectation that your home is maintained and adheres to basic safety and building standards. If a significant event like a hailstorm or hurricane damages your roof, and it's discovered during the adjuster's inspection that your roof was not code-compliant due to improper installation or neglected issues, your claim could be denied, or the payout significantly reduced. Having a documented, permit-approved, and code-compliant roof provides undeniable proof that your home met standards, making the claims process much more straightforward and increasing the likelihood of a full payout for necessary repairs or replacement. It removes a major hurdle and reduces your stress during an already difficult time.
Beyond insurance, a code-compliant roof is a powerful asset when it comes time to sell your home. Real estate transactions often involve thorough home inspections, and a roof that passes with flying colors is a huge plus. Buyers are increasingly savvy and understand the long-term costs associated with home maintenance. A roof that's old, in disrepair, or fails to meet current codes can be a major deterrent, leading to demands for price reductions, repair credits, or even causing a sale to fall through. Conversely, a new, well-installed, and code-compliant asphalt roof signals quality and reduces perceived future expenses for the buyer, adding tangible value to your property and often fetching a higher asking price. It’s a clear indication that the home has been meticulously cared for, offering buyers confidence and a quicker, smoother sale process.
Disclaimer
This article is for general informational purposes only and does not constitute professional advice. Laws, prices and regulations vary by location and change over time. Consult a qualified professional for guidance on your specific situation.