How to Document Roof Damage for Insurance
Dealing with roof damage, especially after a sudden storm, can feel like a punch to the gut. One moment everything is fine, the next you're staring at missing shingles or a growing water stain on your ceiling, and then the overwhelming dread of dealing with insurance sets in. This guide is here to walk you through the essential steps of meticulously documenting your roof damage for an insurance claim, ensuring you have the best possible chance of a fair and swift resolution.
The Immediate Aftermath: Safety and Initial Steps
When your roof takes a hit, whether it's from a fierce hail storm or a strong wind event, your first thoughts are probably about stopping leaks and assessing the damage. It's a stressful time, and the pressure to act quickly is immense, but rushing can sometimes lead to overlooked details.
Prioritizing Safety and Temporary Measures
Your safety, and that of your family, is paramount. Before you even think about grabbing a ladder, take a moment to assess the situation from the ground. Are there downed power lines? Is the structure compromised? Never put yourself in a dangerous situation. If you suspect significant structural damage or electrical hazards, evacuate immediately and call emergency services.
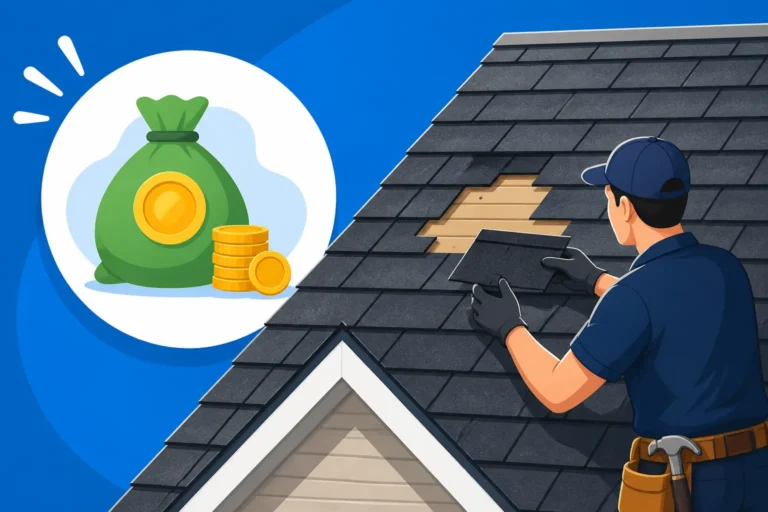
Once the immediate danger has passed, you might need to take temporary measures to prevent further damage. This often involves tarping the affected areas. While this seems straightforward, even temporary repairs need to be done carefully. For example, if you have a significant hole, using a tarp incorrectly can actually funnel water into another part of your home. If you're unsure, it's always best to call a professional for emergency roof tarping. Remember, keep all receipts for any temporary repairs or materials you purchase. These costs can often be included in your insurance claim. Document these temporary fixes with photos and notes, just like you would the original damage.
Notifying Your Insurance Company Promptly
As soon as it's safe and you've taken initial steps to mitigate further damage, you need to notify your insurance company. Don't delay. Most policies require you to report damage in a timely manner. This doesn't mean you need every single detail figured out; just open a claim. You can always provide more information as you gather it.
When you call, be prepared to provide basic information about the incident: the date it occurred, the type of damage you observe (e.g., "missing shingles after high winds," "hail damage to gutters and roof surface"), and any immediate concerns like active leaks. Ask for your claim number right away and keep it handy. This will be your reference point for all future communication. It's also a good idea to ask about the next steps in their process, such as when an adjuster might be assigned and what kind of documentation they will require from you. Understanding the process can help alleviate some of the anxiety. If you’re curious about the specifics of your coverage, you might also ask, "Does Insurance Cover Roof Replacement?" while you're on the phone.
Understanding Your Policy: ACV vs. RCV
Before you get too deep into the claims process, take some time to really understand your homeowner's insurance policy. This can be tedious, but it's crucial. The biggest distinction you'll often find for roof damage claims is between Actual Cash Value (ACV) and Replacement Cost Value (RCV).
- Actual Cash Value (ACV): This means the insurance company will pay you the depreciated value of your roof at the time of the damage. They calculate the current value of your roof, factoring in its age and condition, and deduct that depreciation from the cost of a new roof. For instance, if your 15-year-old roof had a 20-year lifespan, they might pay out a fraction of what a new roof would cost, leaving you to cover a significant portion out of pocket. This can be a major financial hurdle, especially if your roof is nearing the end of its typical lifespan.
- Replacement Cost Value (RCV): This is generally the more favorable option. With an RCV policy, the insurance company will pay the full cost to replace your damaged roof with a new one of similar quality, without deducting for depreciation. They usually issue an initial payment for the ACV, and then, once the work is completed and you provide proof of payment, they release the remaining depreciation. This ensures you're not left with a massive bill beyond your deductible.
Knowing which type of policy you have will set your expectations for potential payouts and help you budget for the repair or replacement. It's also important to check for any specific endorsements or limitations related to wind or hail damage, as some policies in high-risk areas might have higher deductibles or different coverage rules for these perils. You should know what your deductible is and if there's a separate wind/hail deductible, which is common in many states now.
Meticulously Documenting the Damage
This is where the rubber meets the road. Comprehensive documentation is your strongest ally in ensuring a fair insurance claim. Don't hold back; the more evidence you have, the better. Think of yourself as a detective gathering clues.
Capturing Comprehensive Photos and Videos
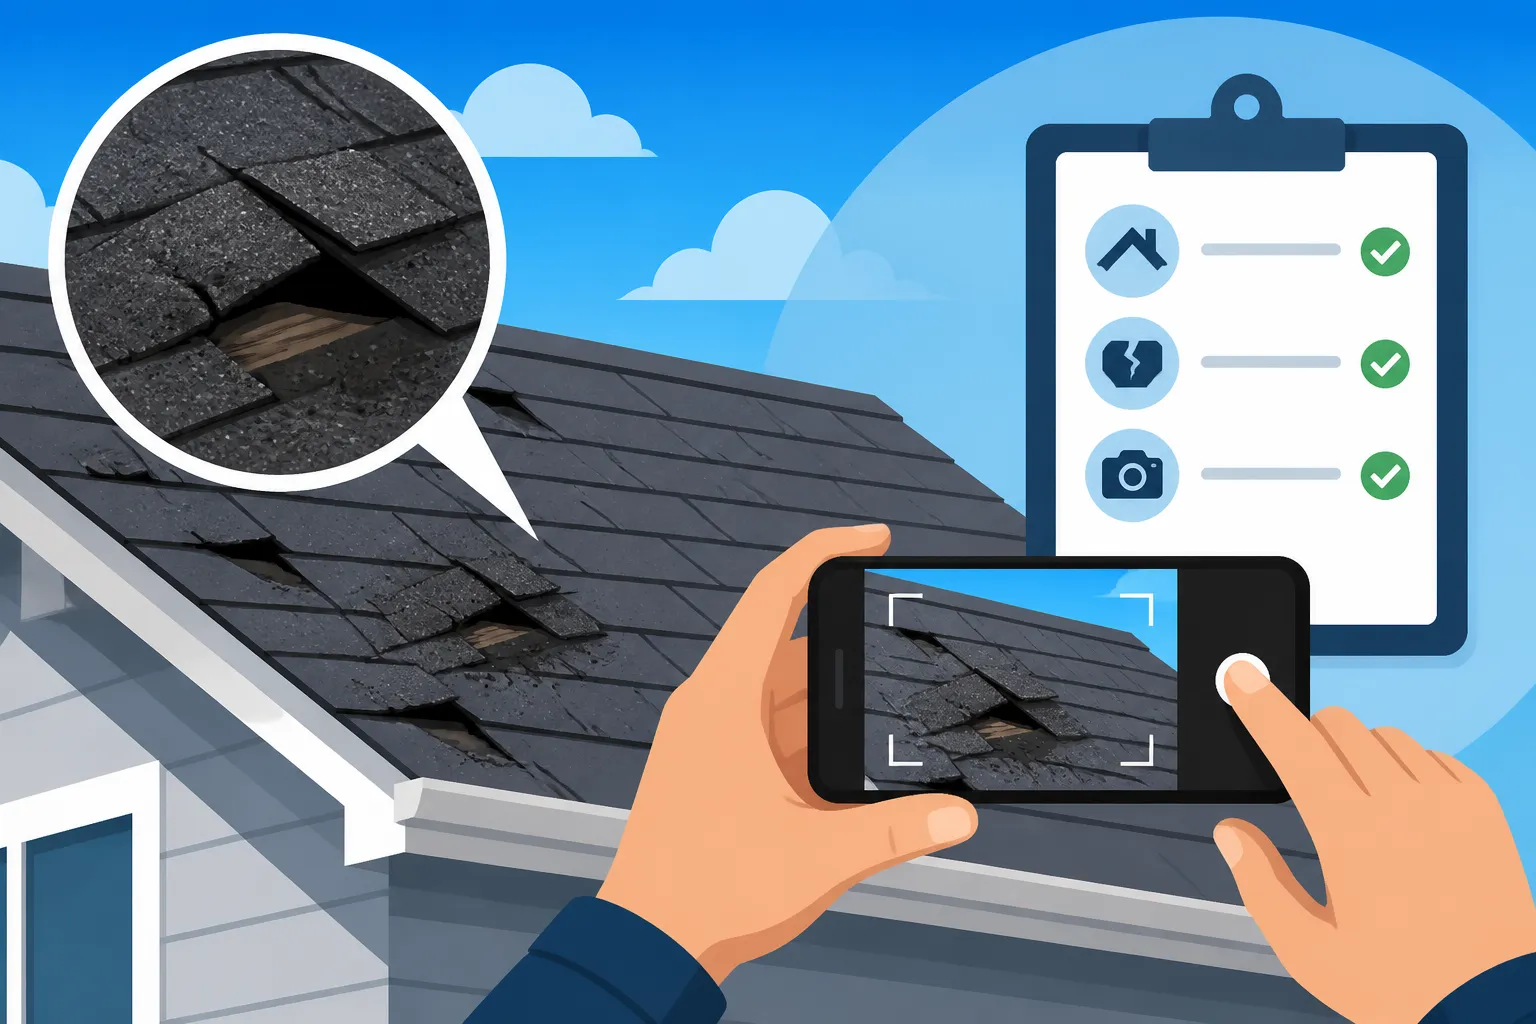
Photos and videos are irreplaceable evidence. They tell a visual story that words sometimes can't capture. Don't just take a few quick snaps; be thorough and systematic.
- Before and After: If you happen to have any "before" photos of your roof from when it was in good condition (perhaps from a home inspection or when you bought the house), dig them out! They can provide invaluable context to show the extent of the new damage.
- Wide Shots: Start with wide-angle photos of your entire house and roof from different vantage points. This establishes the overall context and shows the general condition of your property.
- Medium Shots: Move closer to focus on specific sections of the roof. For example, if one slope is heavily damaged, capture that entire slope.
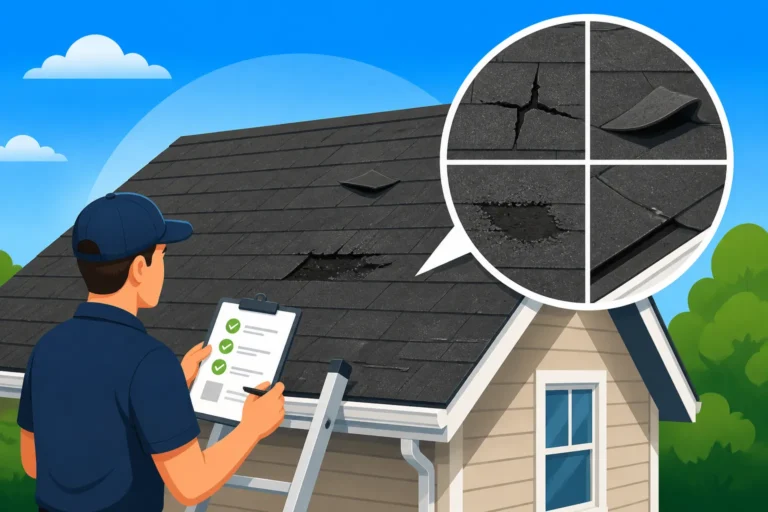
- Close-Ups: These are crucial. Get close to individual damaged shingles, granules missing from the surface, dented vents or gutters, bent flashing, or any exposed roofing felt or decking. For size reference, place a common object like a coin or a ruler next to the damage in some close-up shots. This helps quantify the scale of hail dents or shingle tears.
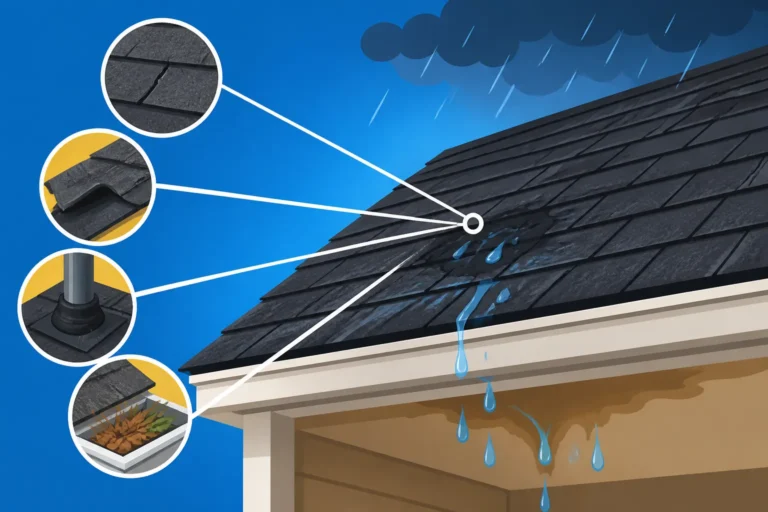
- Interior Damage: Don't forget the inside! If water has leaked into your attic or living spaces, photograph stained ceilings, peeling paint, warped floors, or damaged personal belongings. This directly links the roof damage to interior property damage.
- Damaged Surrounding Property: Hail or high winds rarely just affect the roof. Look for damage to siding, windows, fences, mailboxes, outdoor furniture, or even your car if it was parked outside. This collateral damage reinforces the severity of the storm and can help substantiate your roof claim.
- Time and Date Stamps: Use a camera or phone that automatically adds a date and time stamp to your photos and videos. If your device doesn't, consider downloading an app that does, or simply write down the date and time you took the photos.
- Video Walkthrough: A video walkthrough can complement photos beautifully. Start from one end of your property, slowly panning across the roof, pointing out and narrating the damage as you go. This provides a continuous perspective and can highlight issues that might be missed in static photos.
Remember, never climb onto a damaged roof yourself unless you are a trained professional with proper safety gear. Stick to ground-level observations or use a drone if you have access to one and know how to operate it safely. For a deeper understanding of what to look for, check out our guide on how to Document Roof Damage for Insurance.
Keeping a Detailed Log of Events
Beyond photos, a written log helps organize your thoughts and serves as a chronological record.
- Date and Time of Incident: Precisely record when the damage occurred. This is vital for correlating with weather reports.
- Weather Conditions: Note the specific weather event – hail size, wind speeds (if known), heavy rain. You can often find historical weather data online if you're unsure of exact details.
- Initial Discovery: When and how did you first notice the damage? Was it immediately after the storm, or did you find a leak a few days later?
- Communications: Keep a detailed record of every conversation with your insurance company, adjusters, and contractors.
- Date and time of call/meeting.
- Name of the person you spoke with.
- A brief summary of what was discussed.
- Any follow-up actions agreed upon.
- Expenses: Log every penny spent on temporary repairs, tarps, emergency services, or anything related to mitigating the damage. Attach receipts to this log.
- Observations: Continue to note down any new observations or changes in the damage as time progresses. For instance, if a small leak worsens, make a note of it.
This log will be your personal timeline and reference point, invaluable if there are any disputes or delays in the claim process.
Gathering Supporting Documents and Professional Opinions
Your own observations are critical, but objective third-party evidence carries significant weight with insurance companies.
- Previous Inspection Reports: If you had a home inspection when you purchased your home, or any roof inspections since, pull out those documents. They often include details about the roof's condition at that time, which can prove it was in good shape before the storm.
- Receipts for Prior Repairs/Maintenance: Did you have any minor repairs done recently? Show that you were proactive in maintaining your roof.
- Professional Roofing Assessment: This is perhaps the most important supporting document. Before the insurance adjuster visits, consider having a reputable local roofing contractor inspect your roof and provide a detailed assessment. They can identify damage that might not be obvious to an untrained eye, such as granular loss, bruised shingles, or issues with flashing around chimneys or vents. A professional opinion, complete with a written report and their own photos, can provide an expert perspective that reinforces your claim. When looking for a contractor, resources like Modernize can connect you with pre-vetted professionals in your area who understand how to work with insurance claims. This can be critical, as it provides an objective, expert assessment of the damage.
| Documentation Item | Description | Purpose |
|---|---|---|
| Ground-Level Photos | Wide shots of home, medium shots of roof sections, close-ups of damage. | Show overall context and specific issues without risking safety. |
| Drone Photos/Video | Overhead views, close-ups of hard-to-reach areas. | Comprehensive view of roof surface, invaluable for steep or high roofs. |
| Interior Photos | Water stains, peeling paint, damaged drywall, ruined belongings. | Connects roof damage directly to interior property loss. |
| Dated Log/Journal | Dates, times, observations, communication details, expenses. | Chronological record of events, interactions, and costs for dispute resolution. |
| Receipts | Temporary repairs (tarps, materials), emergency services. | Proof of out-of-pocket expenses for mitigation, potentially reimbursable. |
| Weather Reports | Historical data (hail size, wind speeds, storm date). | Corroborates your claim with verifiable weather events. |
| Professional Report | Detailed assessment from a licensed roofing contractor (with photos/diagrams). | Provides expert validation of damage, often identifying issues an untrained eye or adjuster might miss, and includes repair estimates. |
| Existing Home Docs | Prior inspection reports, roof warranty, maintenance records. | Establishes roof condition before the incident and supports claims about its expected lifespan. |
Working with Roofing Contractors and Insurance Adjusters
Navigating the next phase often involves coordinating between your chosen roofing professional and the insurance adjuster. It's a dance, and you want to ensure everyone is on the same page for the best outcome.
Getting Multiple Estimates and What to Look For
Your insurance company will send an adjuster to assess the damage, but it's always a good idea to get independent estimates from at least two or three local, reputable roofing contractors. Why? Because adjusters might sometimes miss details or have a different scope of repair than what's truly needed.
When you're getting estimates, look for:
- Detailed Line Items: A good estimate won't just be a lump sum. It will break down every component: tear-off, disposal, underlayment, new shingles (type, brand, color), flashing, ventilation, drip edge, labor, and even permits. For example, you want to know the cost of roof tear-off and disposal separately.
- Scope of Work: Does it clearly state what will be done? Will they replace all damaged accessories, not just the shingles? Will they replace sections of roof decking if needed?
- Matching Materials: Ensure the contractor plans to use materials comparable in quality and style to your existing roof, or the upgrade you desire.
- Manufacturer and Workmanship Warranties: Discuss the warranties offered. A strong warranty can provide peace of mind for years to come. Ask about the differences between a manufacturer's warranty and the contractor's workmanship warranty.
- Proof of Insurance and Licensing: Never, ever hire a contractor who cannot provide current proof of liability insurance and workers' compensation, as well as their state or local license. This protects you from financial responsibility if an accident occurs on your property.
- Communication: How responsive and transparent is the contractor? Do they answer all your questions thoroughly? You can find more tips on How to Choose a Roofing Contractor to ensure you're picking a reliable company.
Comparing these estimates against the adjuster's assessment will highlight any discrepancies and give you strong points for negotiation. This process is crucial to get a fair payout, so don't rush into it.
Preparing for the Adjuster's Visit
The insurance adjuster's visit is a critical point in the claim process. This is their opportunity to verify the damage you've reported and estimate the cost of repairs. You want to make this visit as smooth and informative as possible.
- Be Present: Make every effort to be home during the adjuster's visit. This allows you to walk them through your documentation, point out specific areas of concern, and ask questions directly.
- Have Your Documentation Ready: Have your photos, videos, damage log, receipts, and any professional contractor assessments organized and easily accessible. You can even create a simple binder or a digital folder.
- Walk the Property Together: Politely ask to accompany the adjuster during their inspection. This ensures they see all the damage you've identified, both on the roof (if safe to view) and around the property. Point out the specific signs of roof damage you've documented, such as missing shingles, cracked shingles, or granule loss.
- Don't Feel Pressured: The adjuster works for the insurance company. While they aim for fairness, their primary goal is to assess the damage from their company's perspective. Do not feel pressured to agree to their assessment on the spot if you have doubts or if it differs significantly from your contractor's estimate.
- Ask for Their Report: Request a copy of the adjuster's detailed report once it's completed. This will outline their findings and the estimated cost they've determined. This is essential for comparing with your own contractor estimates.
Navigating Communication and Potential Disputes
After the adjuster's visit, you'll receive a report and an offer. This is where negotiation might begin.
- Compare Reports: Carefully compare the adjuster's report with your contractor's estimates and your own documentation. Look for differences in the scope of work, material costs, or items that might have been overlooked entirely (e.g., damaged gutters, ventilation, or flashing).
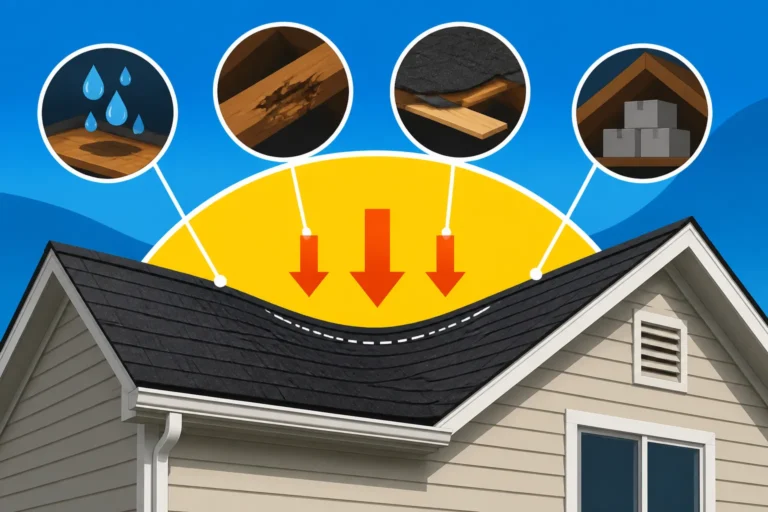
- Address Discrepancies: If there are significant differences, don't hesitate to contact your adjuster. Provide them with your contractor's detailed estimate and your documentation, explaining why you believe their initial assessment is insufficient. For instance, if your contractor found signs of roof decking replacement cost needed due to moisture damage, and the adjuster missed it, bring it up.
- Maintain Professionalism: Always communicate politely but firmly. Keep all communications in writing (emails are great for this, or follow up phone calls with a summarizing email). This creates a paper trail.
- Seek Contractor's Assistance: A good roofing contractor who has experience with insurance claims can be an invaluable advocate. They can often speak directly with the adjuster, clarify technical details, and justify their repair estimates based on industry standards and local building codes. Some contractors even specialize in this, acting as an insurance claim roofers. They understand the language and process better than most homeowners.
What to Do If Your Claim Is Denied or Underpaid
It's disheartening, but sometimes insurance claims are denied or the payout is far less than what's needed. Don't give up! This isn't necessarily the final word.
Understanding the Reasons for Denial
Before you can appeal, you need to understand why your claim was denied or why the payout was so low. The insurance company is legally obligated to provide you with a reason. Common reasons include:
- Lack of Sufficient Damage: The adjuster determined there wasn't enough damage to warrant replacement or the damage was pre-existing.
- Damage Type Excluded: Your policy might have specific exclusions for certain types of damage (e.g., specific types of mold, or gradual deterioration).
- Maintenance Issues: The damage was attributed to poor maintenance rather than a sudden event.
- Depreciation: For ACV policies, the payout might seem low because they've heavily depreciated the value of your old roof.
- Late Filing: You filed the claim outside the acceptable timeframe outlined in your policy.
Read the denial letter carefully and ask for clarification if anything is unclear.
Appealing the Decision
If you believe your claim was wrongly denied or underpaid, you have the right to appeal.
- Gather More Evidence: This might mean getting another professional assessment, perhaps from a different contractor, or even an independent public adjuster. A public adjuster works for you, not the insurance company, and can help assess damage and negotiate on your behalf for a fee.
- Write a Formal Appeal Letter: Clearly state why you disagree with their decision, referencing your policy, your detailed documentation, contractor estimates, and any new evidence. Attach all supporting documents.
- Request a Re-inspection: Ask for a different adjuster to re-inspect your roof, perhaps accompanied by your contractor. Sometimes a fresh pair of eyes can make a difference.
- Escalate Within the Company: If your initial appeal to the adjuster doesn't yield results, ask to speak with a supervisor or manager in the claims department.
- Contact Your State's Department of Insurance: This is a powerful step. State insurance departments regulate insurance companies and can investigate complaints. They can mediate disputes and ensure the company is adhering to fair claims practices.
Seeking Professional Help
If you're still hitting a wall, consider legal counsel. An attorney specializing in insurance claims can review your case, interpret policy language, and negotiate with the insurance company on your behalf. While this is a more significant step, it can be necessary, especially for large claims or if you suspect bad faith practices by the insurer.
Remember, persistence and thorough documentation are your best tools throughout this entire process. It might feel like a long and frustrating journey, but with the right approach, you can significantly improve your chances of a successful outcome.
Disclaimer
Please note that the information provided in this article is for general informational purposes only and does not constitute professional advice. Roofing issues and insurance claims can be complex and vary greatly based on individual circumstances, policy details, and local regulations. Always consult with a qualified roofing professional and your insurance provider for advice tailored to your specific situation.